 I made a batch of plant labels to put in my garden. They are cheap, easy, and - best of all - not plastic, so I thought you guys might like to see how I made them.
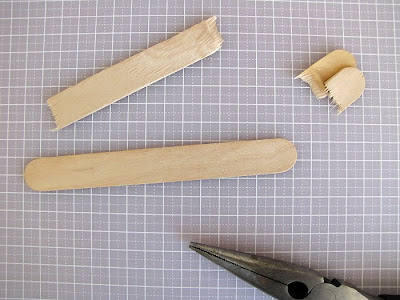
 Snap the ends off some wide craft sticks (the ones that are about 18mm wide - that's wider than the average popsicle sticks). You can use your fingers, but pliers will make the snapped end a bit tidier.
 Sand the ends to get rid of any splinters.
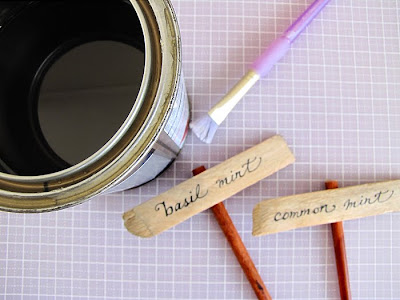
I like to paint a light wash of brown watercolour paint over the sticks, so they aren't quite so garishly "new" looking.
 Use a fadeproof and waterproof pen to write your plant names.
If you like you could decorate the sticks further with stickers and rubons.
 Use a small saw to cut a chopstick in half. Sand the cut ends.
 Use a waterproof wood glue to glue the stick to the chopstick, with the tapered end pointing down. Let dry.
 Seal with a coat or two of clear varnish.
 Then pop in the garden. These have lasted at least a season in my garden, and as they age they start to blend in more with their surroundings. Much more attractive than white plastic labels!